FK&P AAR: Skirmett Orchards (Siege of Norchester #12)
/And so Rob and I came to the last game of the Siege of Norchester campaign pack: Skirmett Orchards.
Rob and his Royalists had already won the camapign as a whole, but here was a last chance for the Parliamentarians to salvage a little bit of pride and close what would be the final gap.
Here’s the background to the scenario: Norchester has fallen! Despite the valiant efforts of Sir Edmund and his men, the city’s walls were eventually breached in several locations, and there were just not enough defenders left to cover them all. The Parliamentarian army swept forward, and after fierce fighting in the breaches, got into the city and forced its surrender.
Having escaped from the Parliamentarian trap near Ramshackle Bridge, Lord Arthur “Double” d’Artois therefore finds himself somewhat in a pickle: his mission was to help relieve the city, but the city has fallen. All he can now do is lead his men away from Norchester and join the Royalist fight elsewhere. There is, however, one more hurdle to overcome: Dread-Naught is on his trail again.
With his “English” troops exhausted after their final battle with Sir Edmund Dexter’s men, also fleeing Norchester, Sir Thomas has gathered together his troops from the Borders (along with General Rhapsody and the fittest two squadron of Puritan Horse) and swept up from the south to intercept d’Artois near the village of Skirmett, famous for its orchards.
One last clash remains…
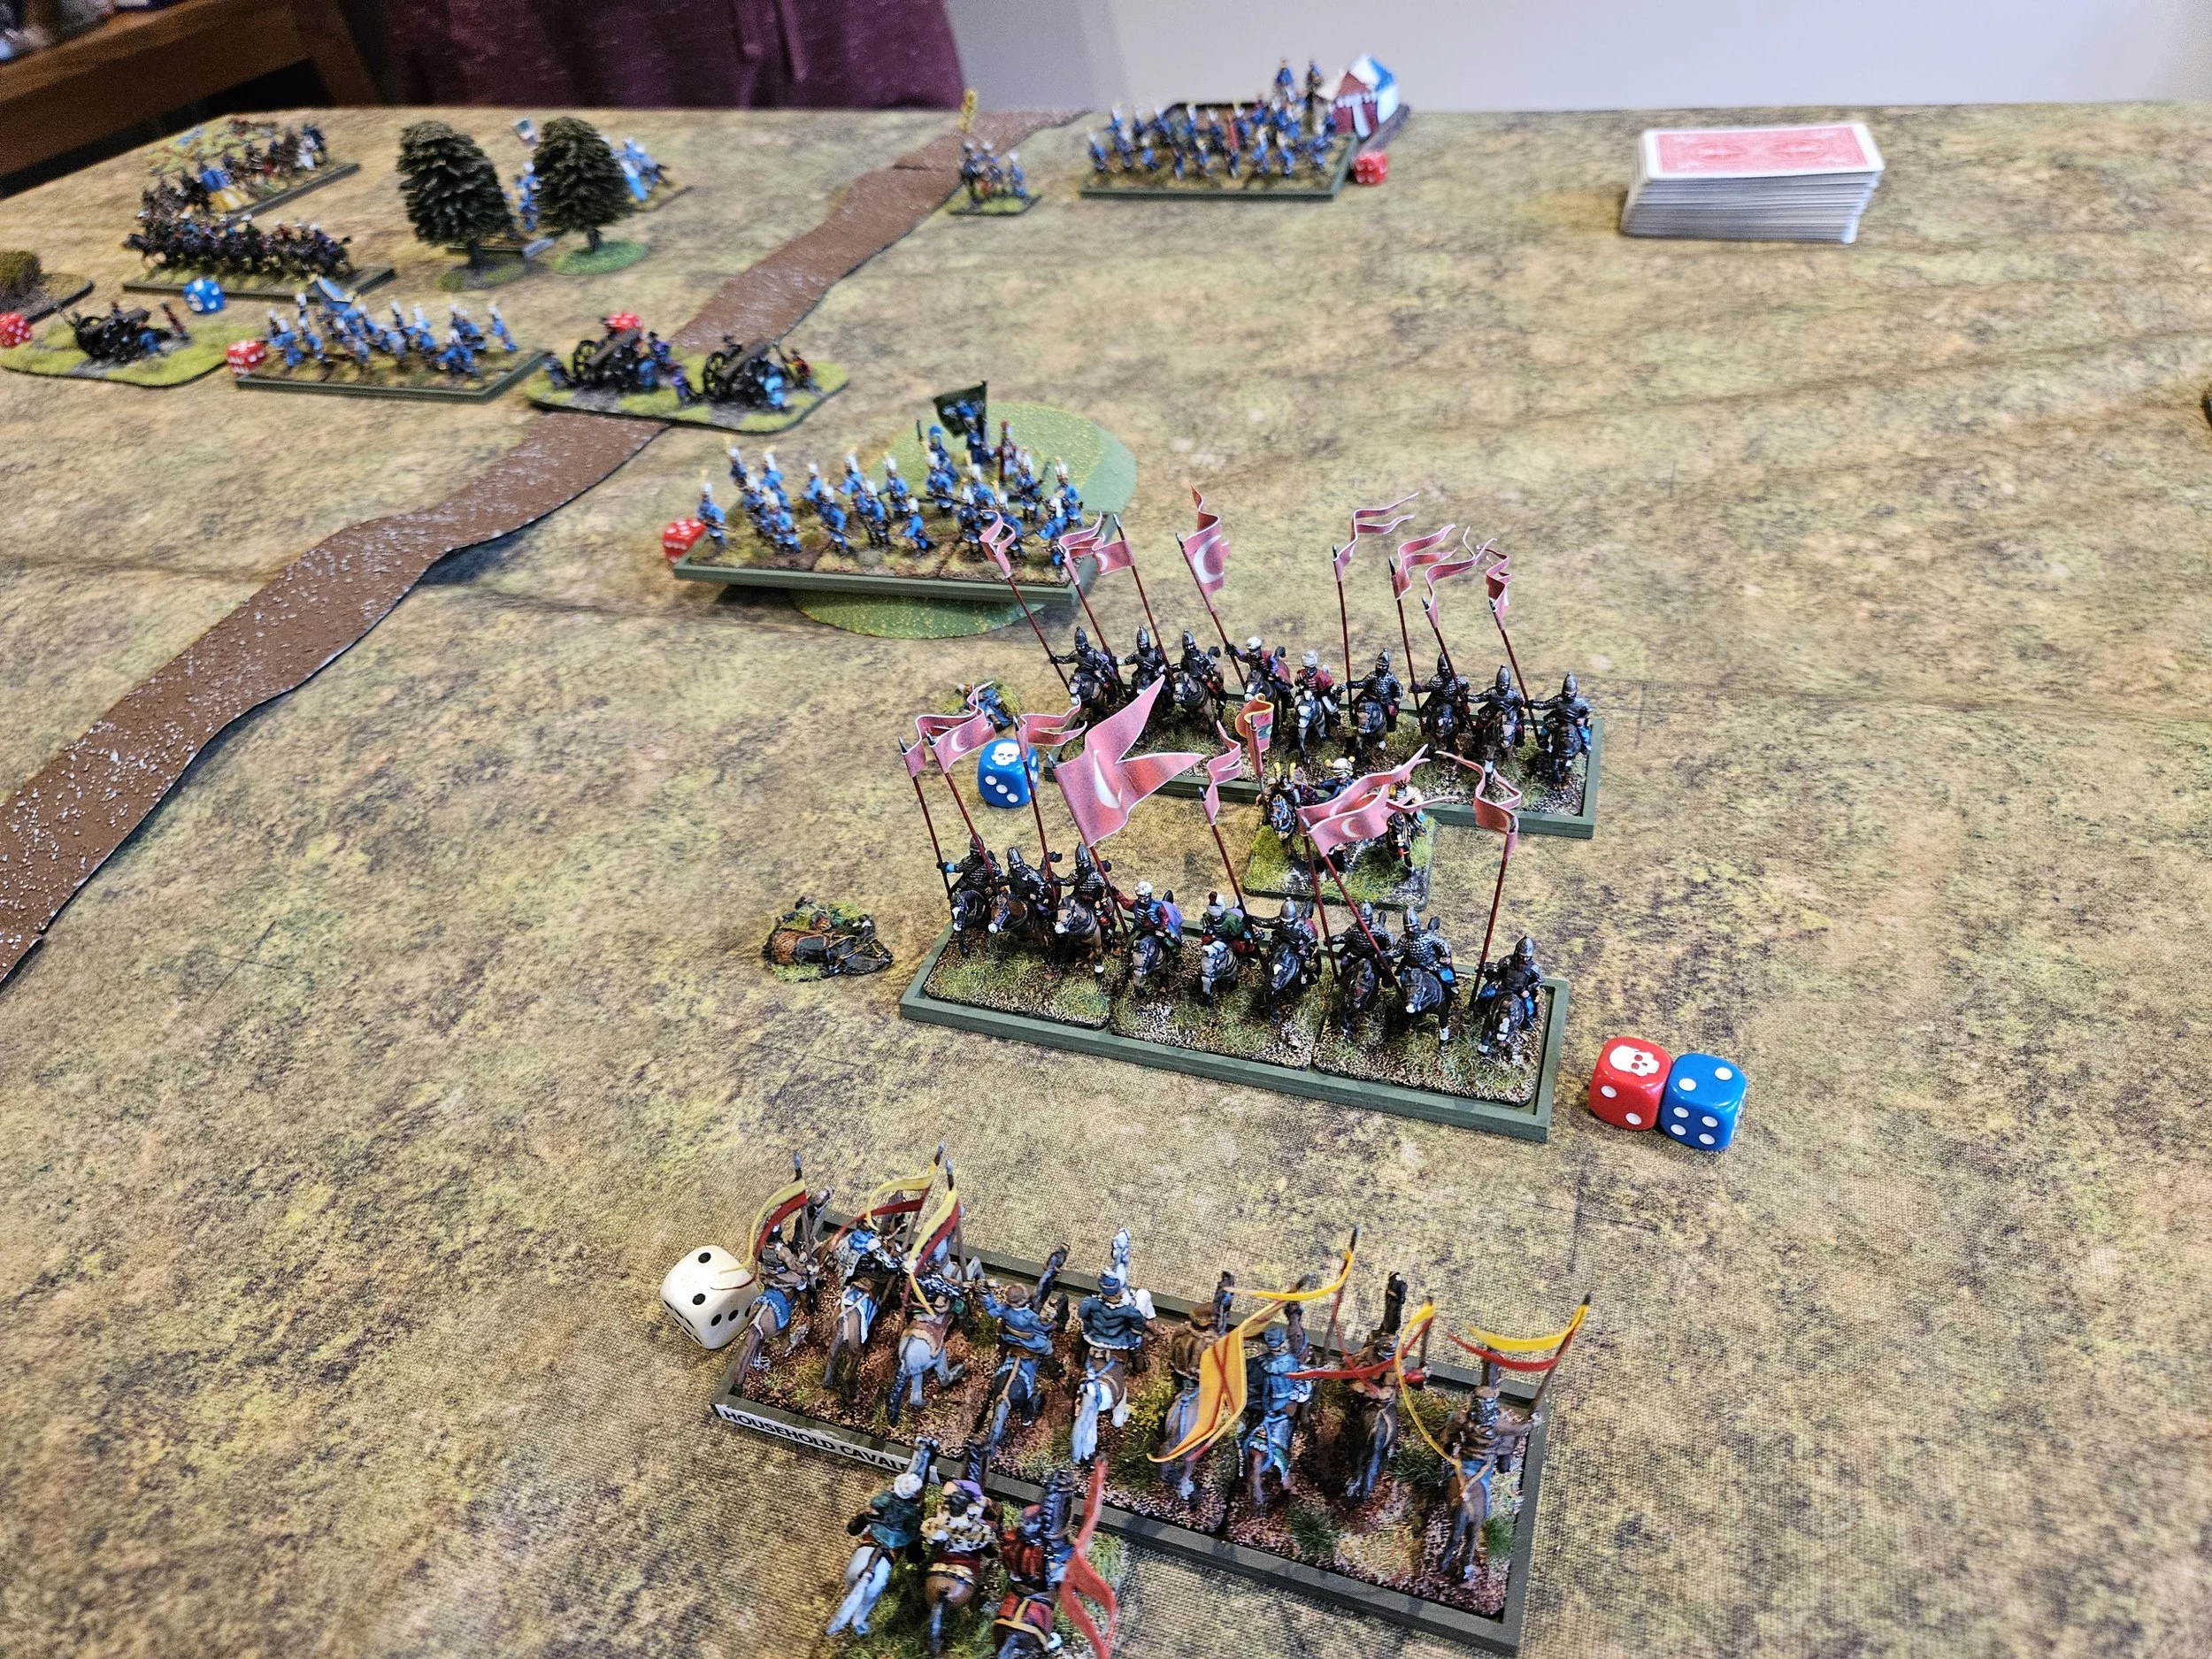
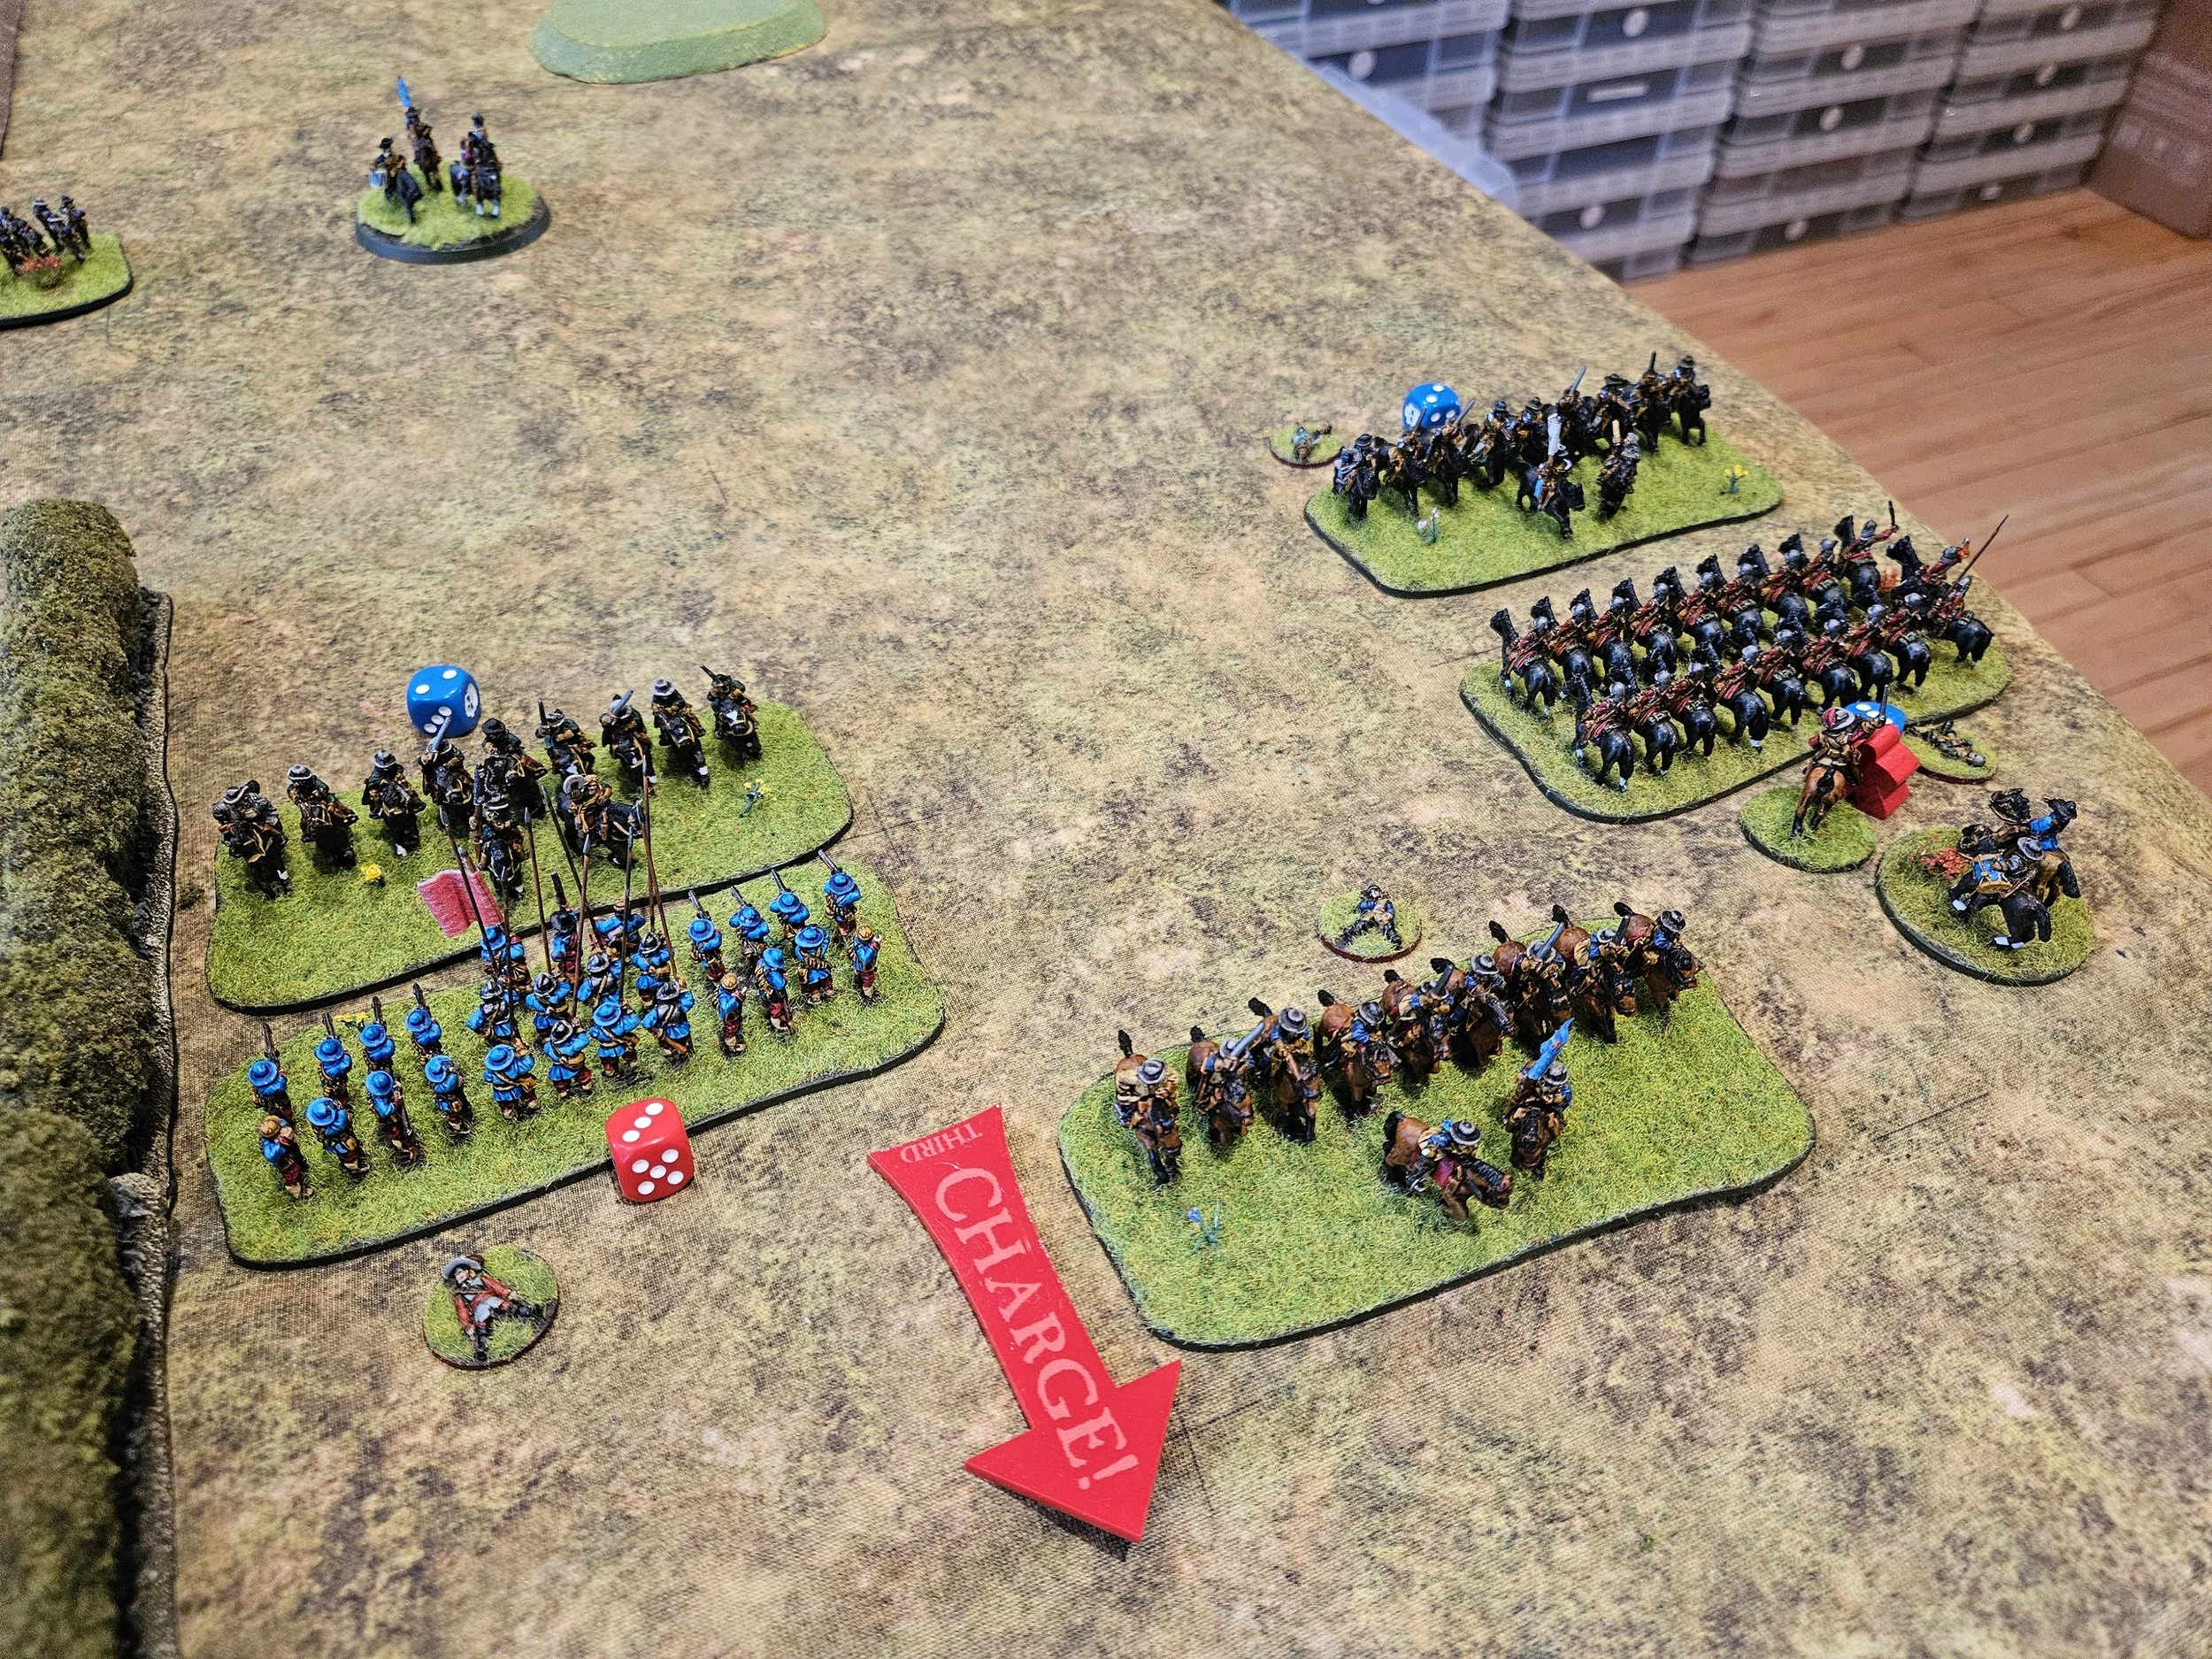
view from the Royalist side of the table. The opposing commanders stare at each other from atop a couple of small hills.
My plan, as the Parliamentarians, was to refuse my left flank Scottish horse, forcing his veteran Swedish horse to come to me. Whilst that was happening, I’d advance forward in the centre to the edge of the town, but my main effort would be on the right, where my Puritan horse supported by infantry, would hopefully sweep away the Swedish horse in front of them before curling round the take the rest of the Royalist line in the rear.
A lot depended on the Scottish horse holding the left and a quick victory in the initial clash on the right.
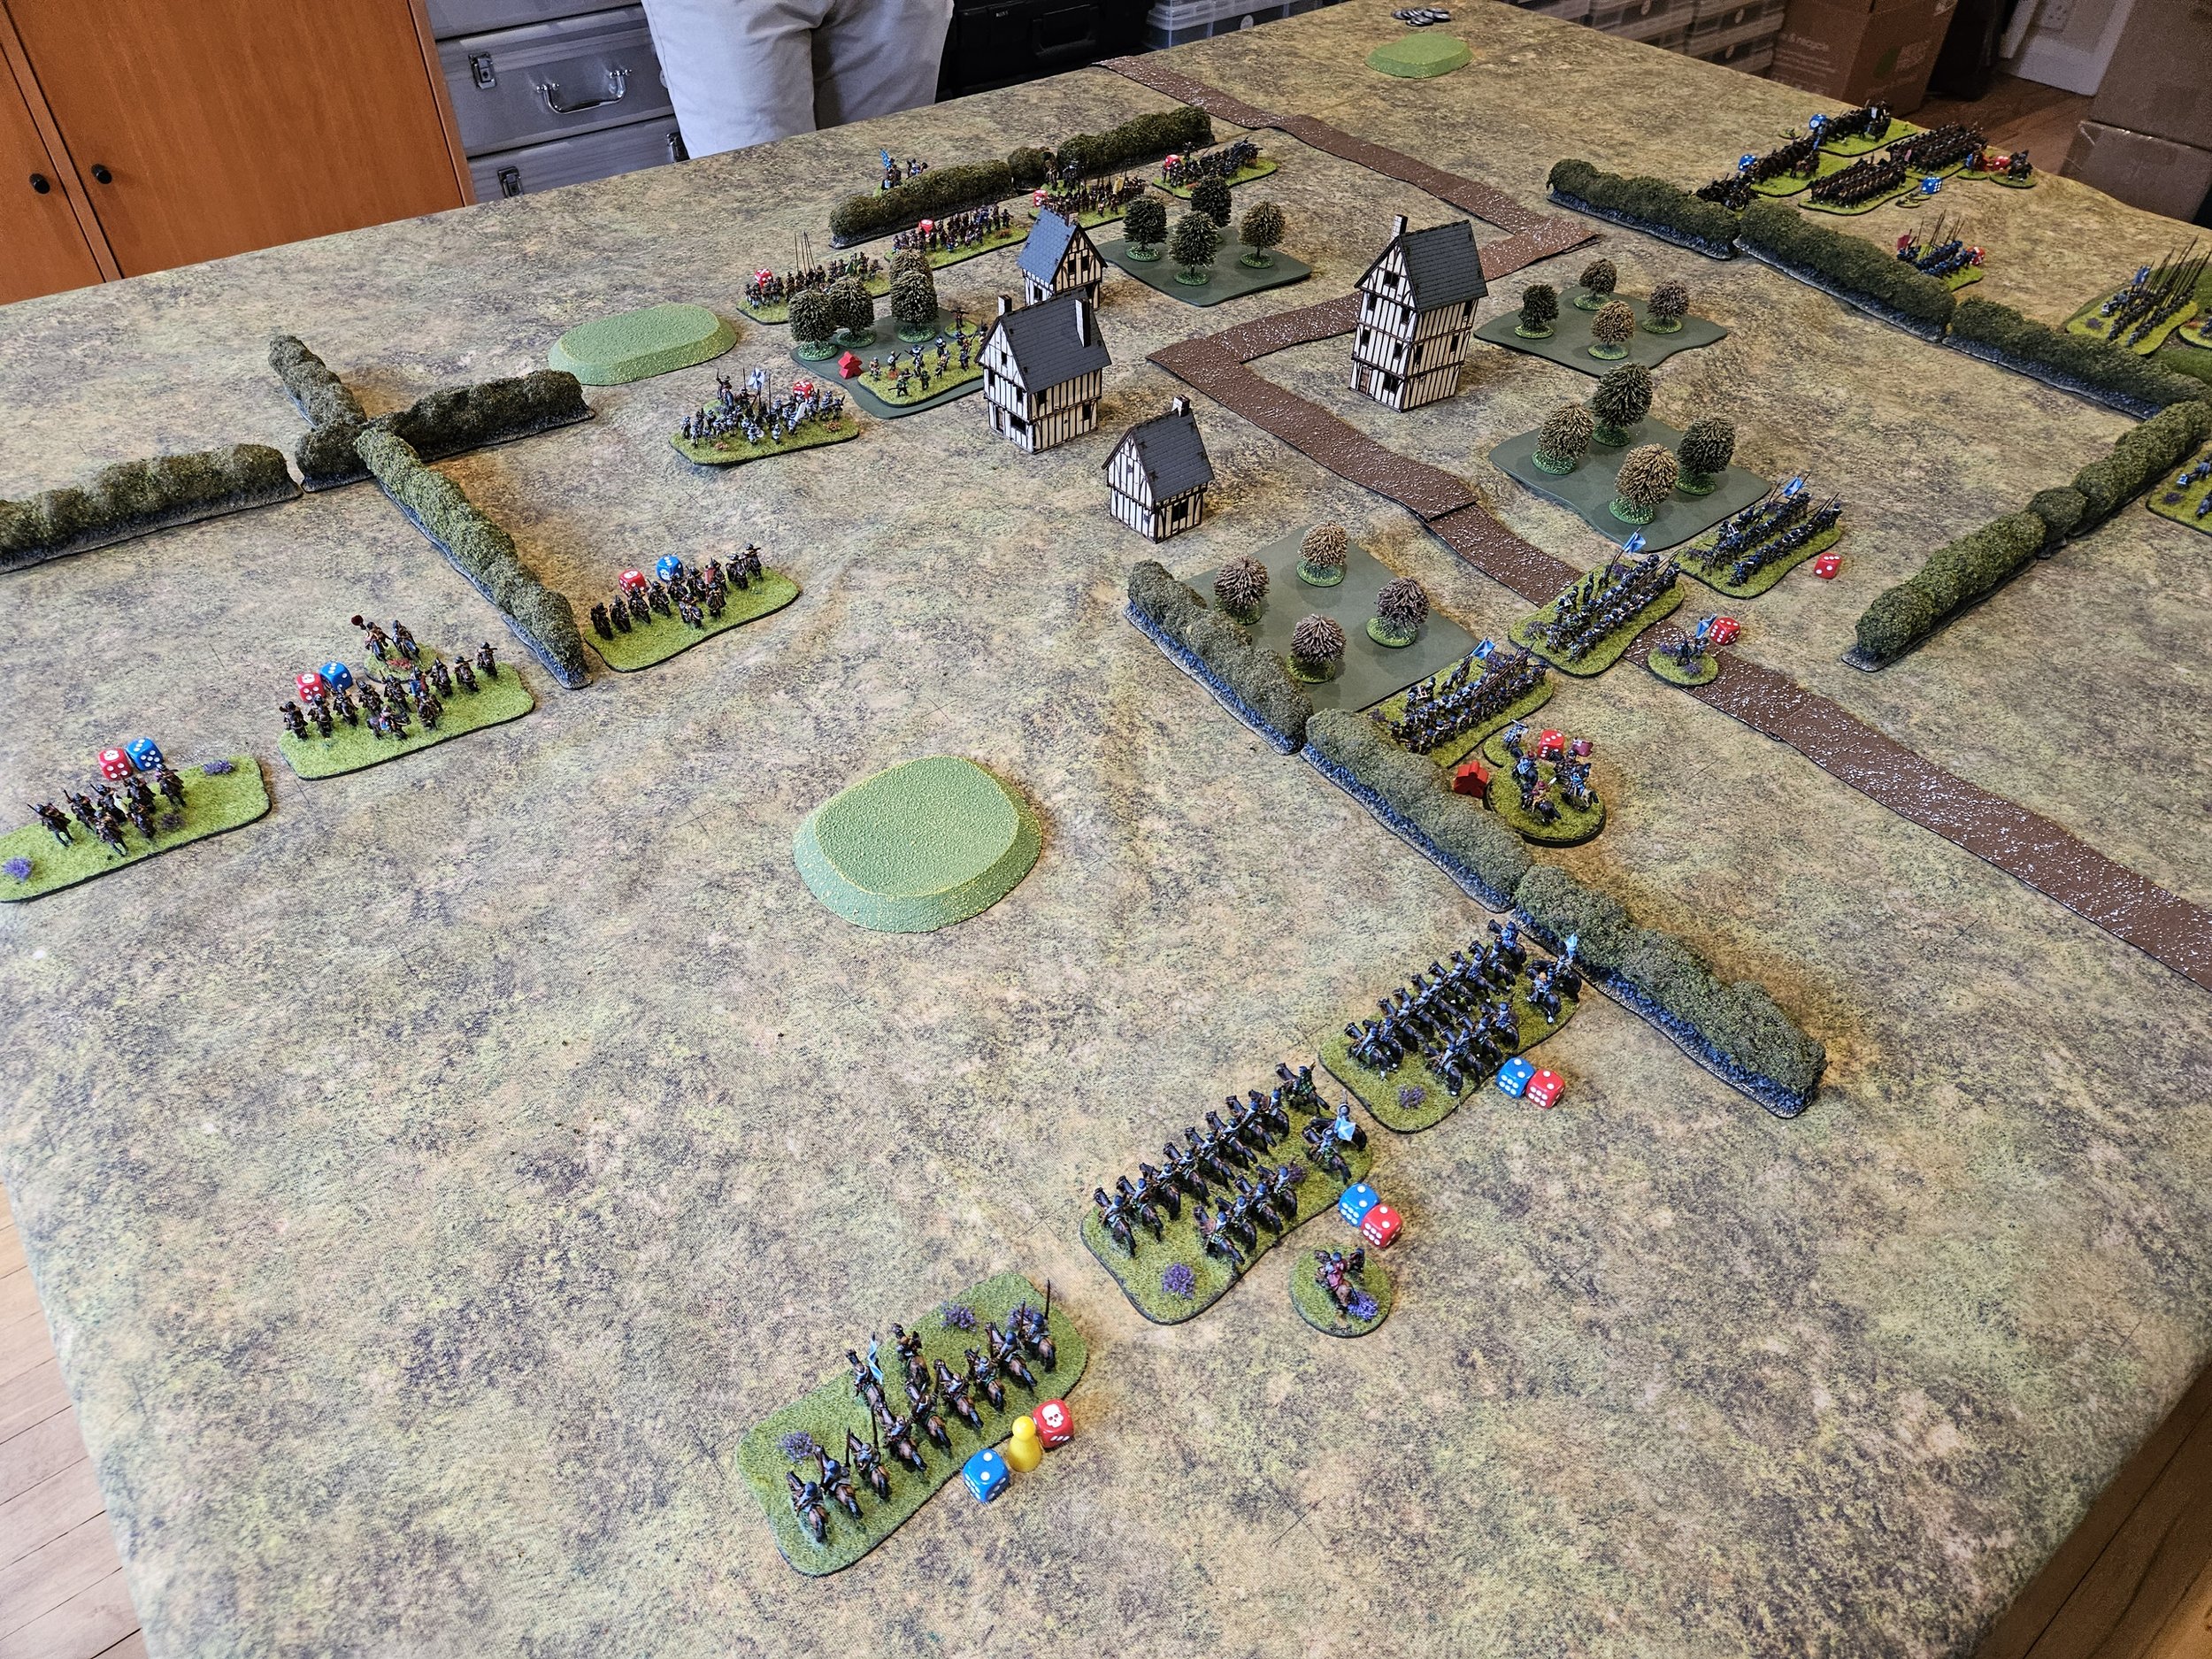
View from behind the Parliamentarian right flank
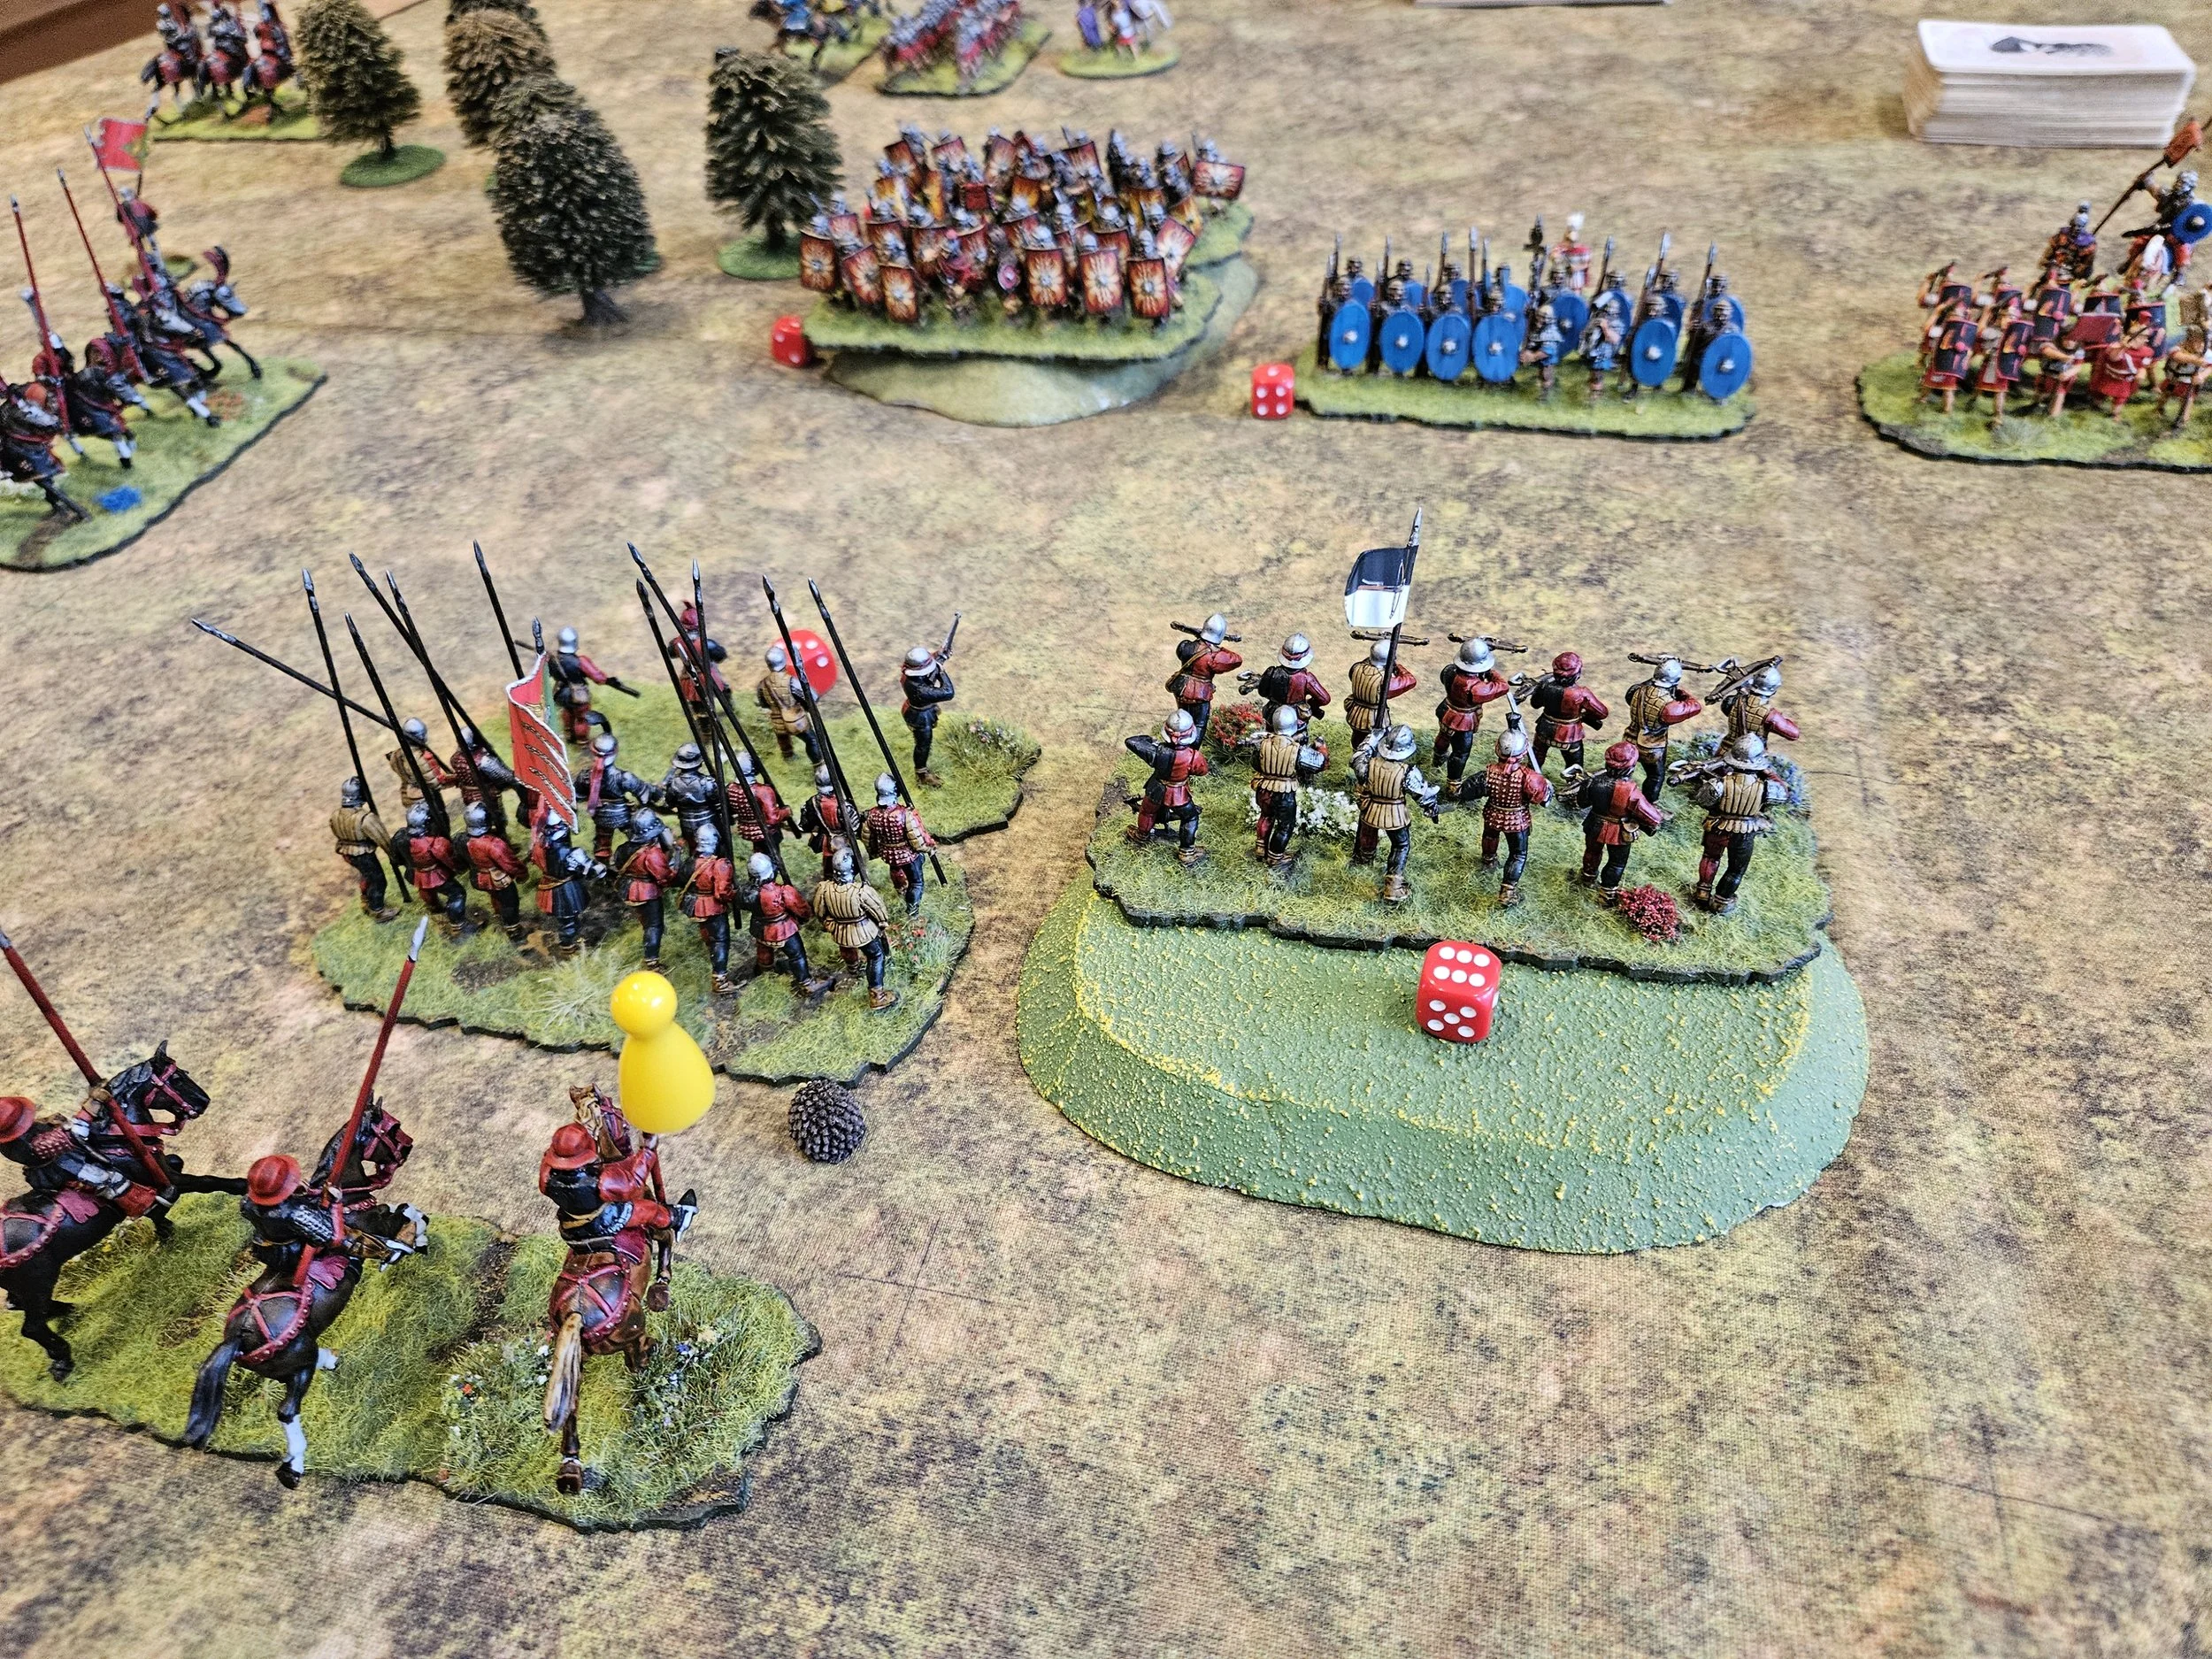
The game began with both sides advancing on their respective right flanks.
My Puritan Horse were soon engaged with the Royalist cavalry, but the initial clash did not go well (demned counterchargers!). Where were the infantry?


The infantry arrived in the nick of time to stabilise the line…

…and although one squadron of Cavalier horse did break through, they were dealt with by the follow-up battalia of infantry, and the right flank was soon mine.

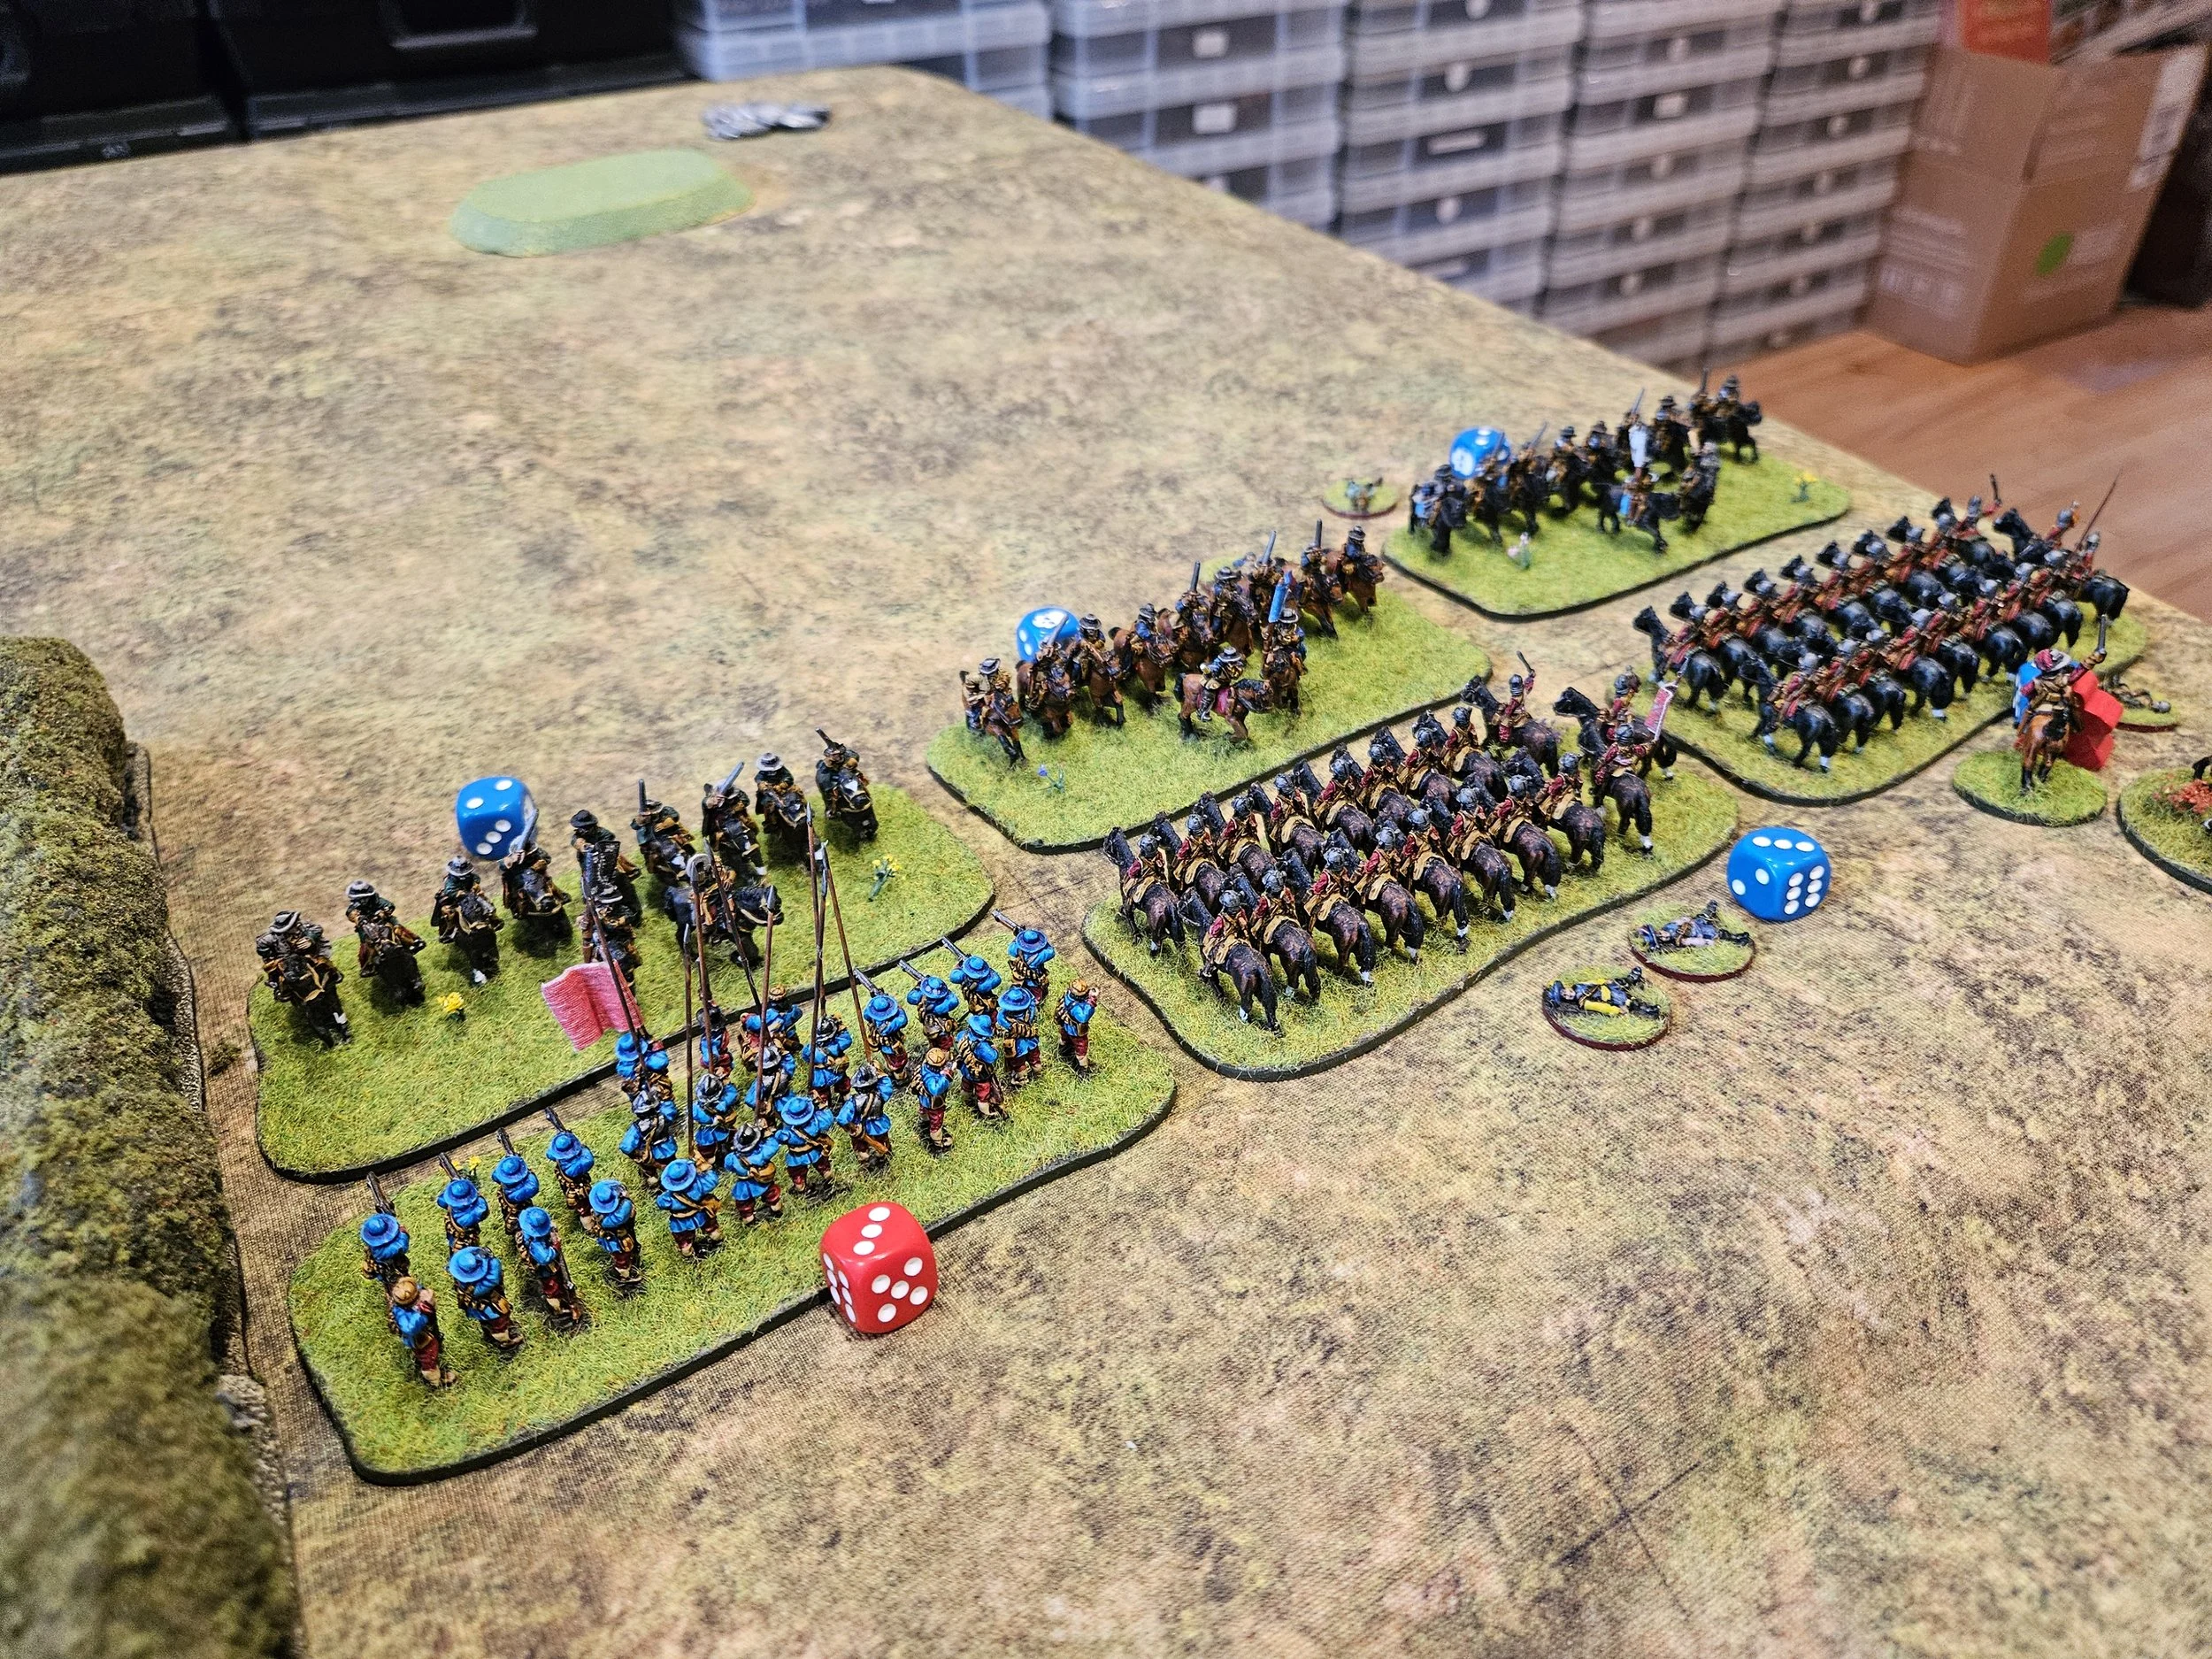
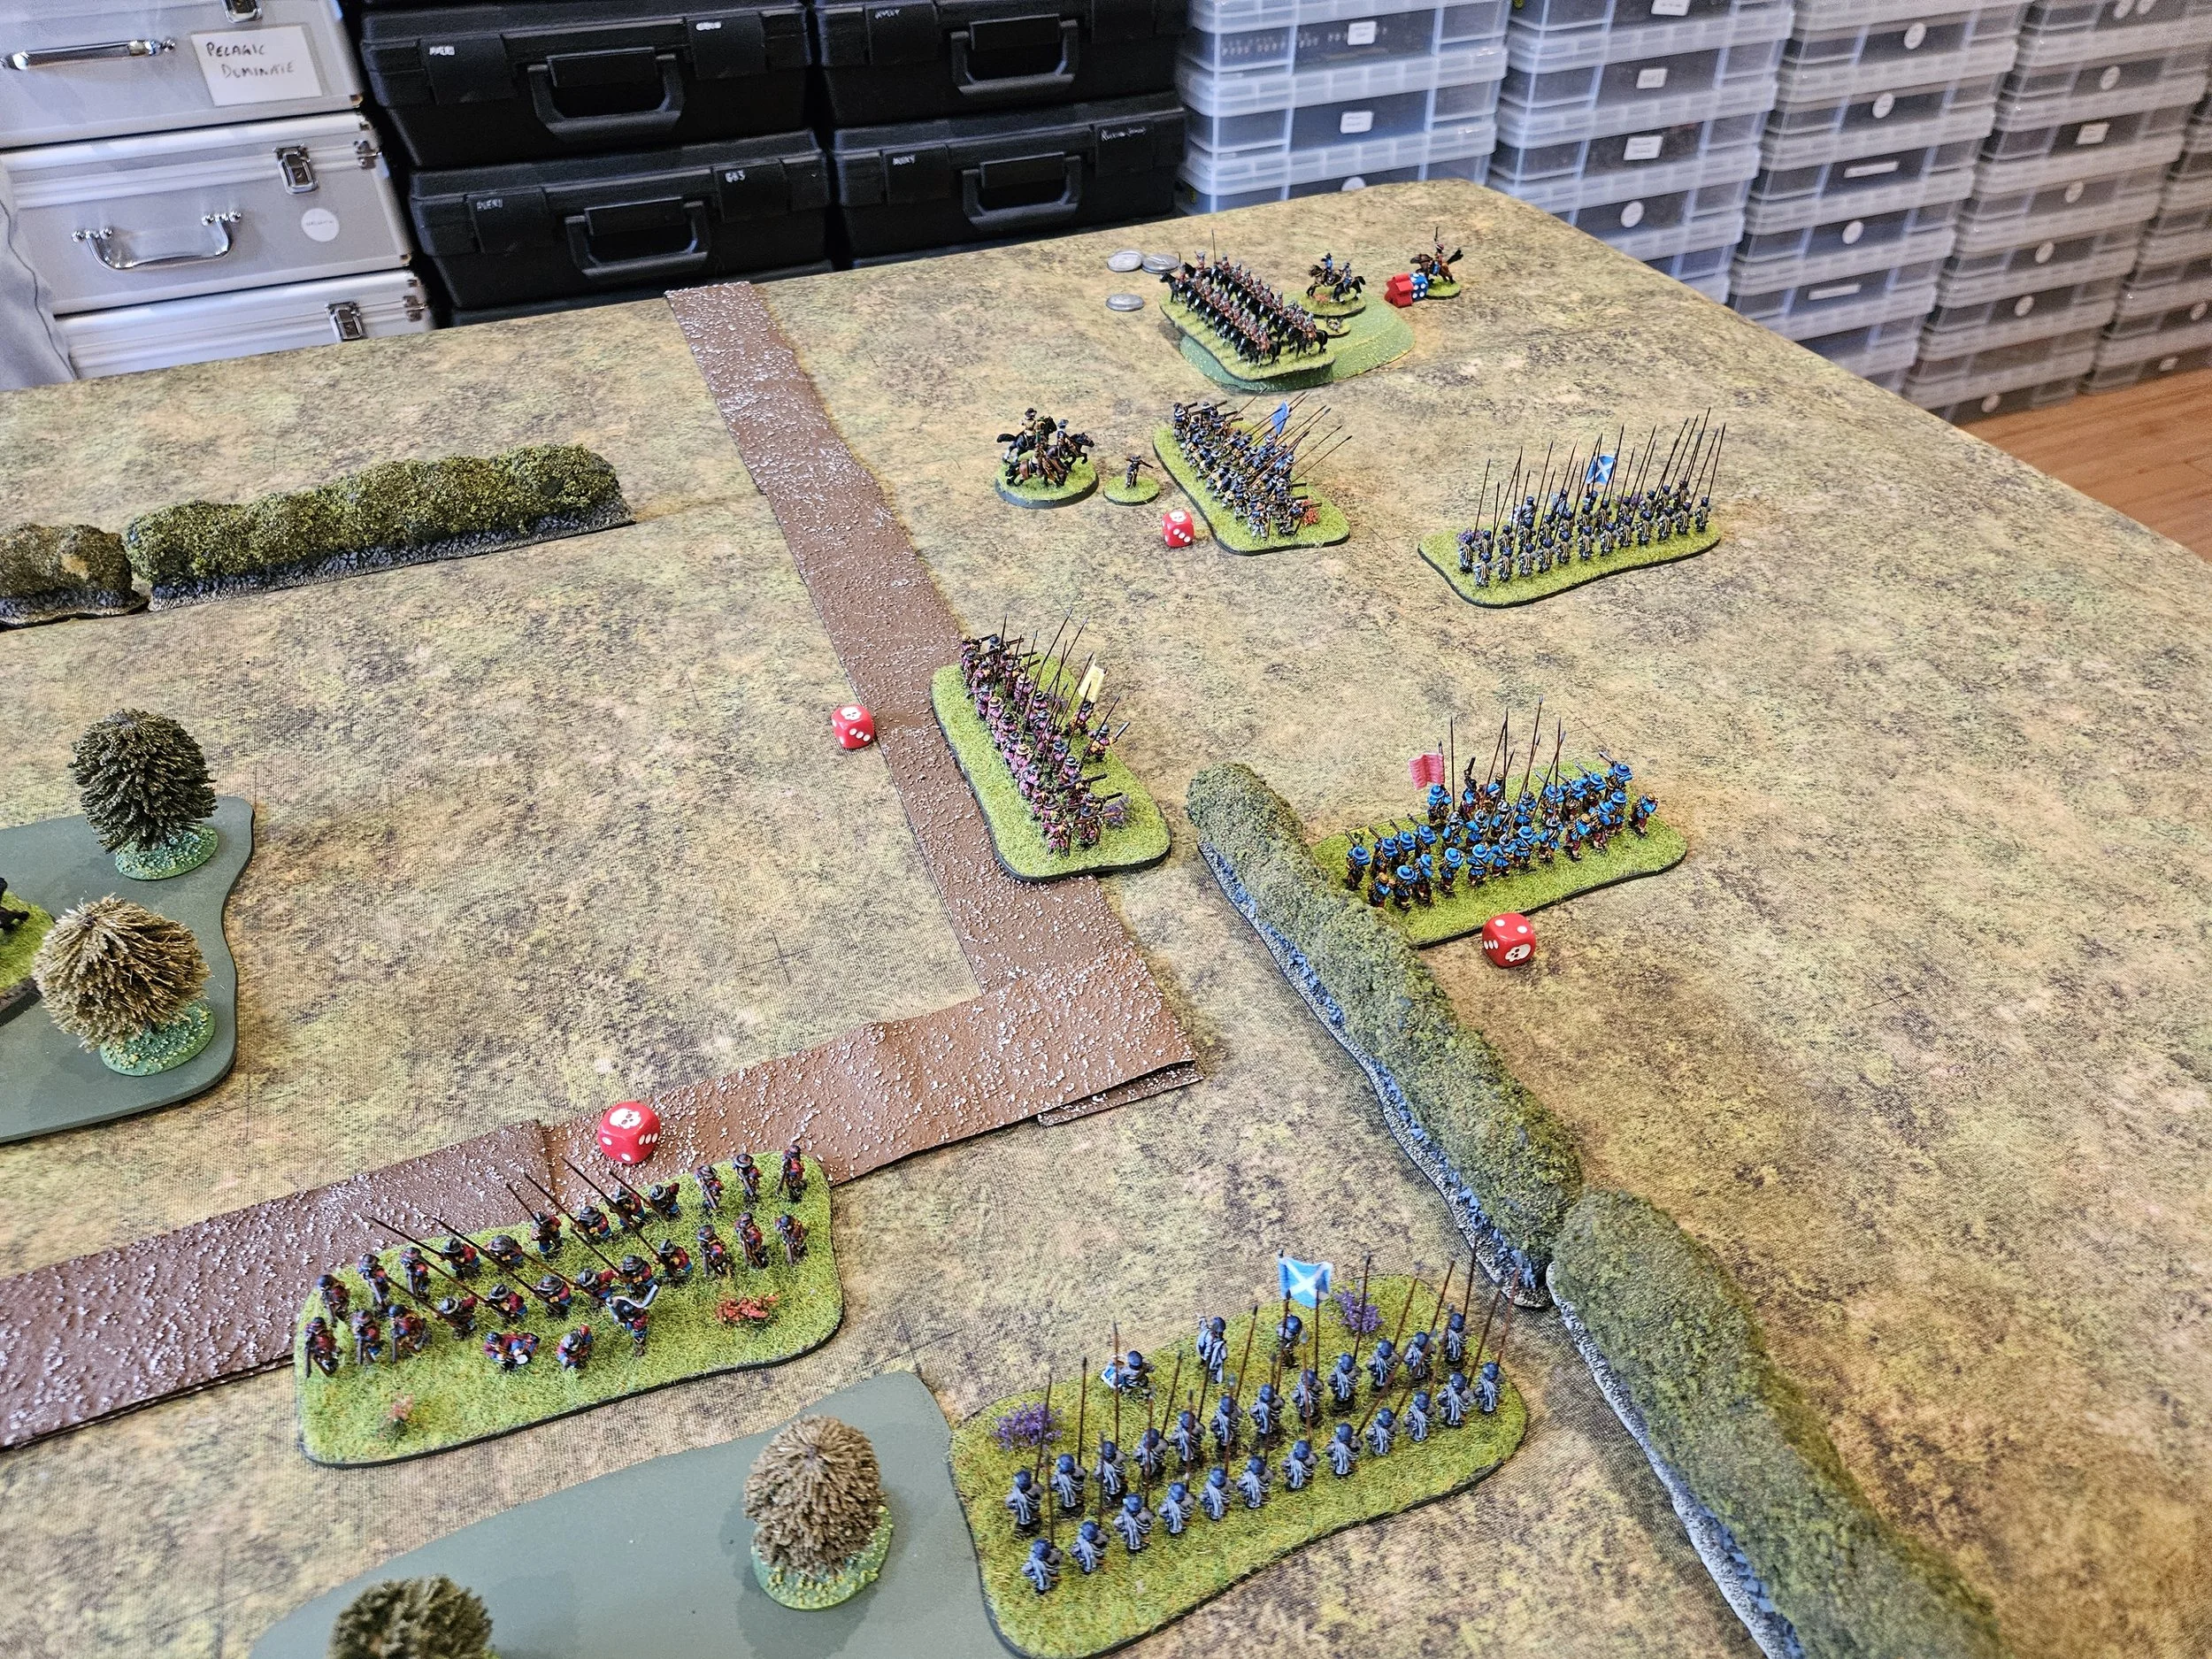
Meanwhile, on the left side of the field, my Scottish horse had been doing their best to avoid fighting the far superior Cavalier Swedish horse.
As you can see in the pictures below, they had been pretty successful in staying well away from the Royalists…with, almost unbelievably, the only actual clash resulting in a Scottish victory. This however left one squadron of Scottish horse isolated and with horses blown: it would be some time before they could do anything more.
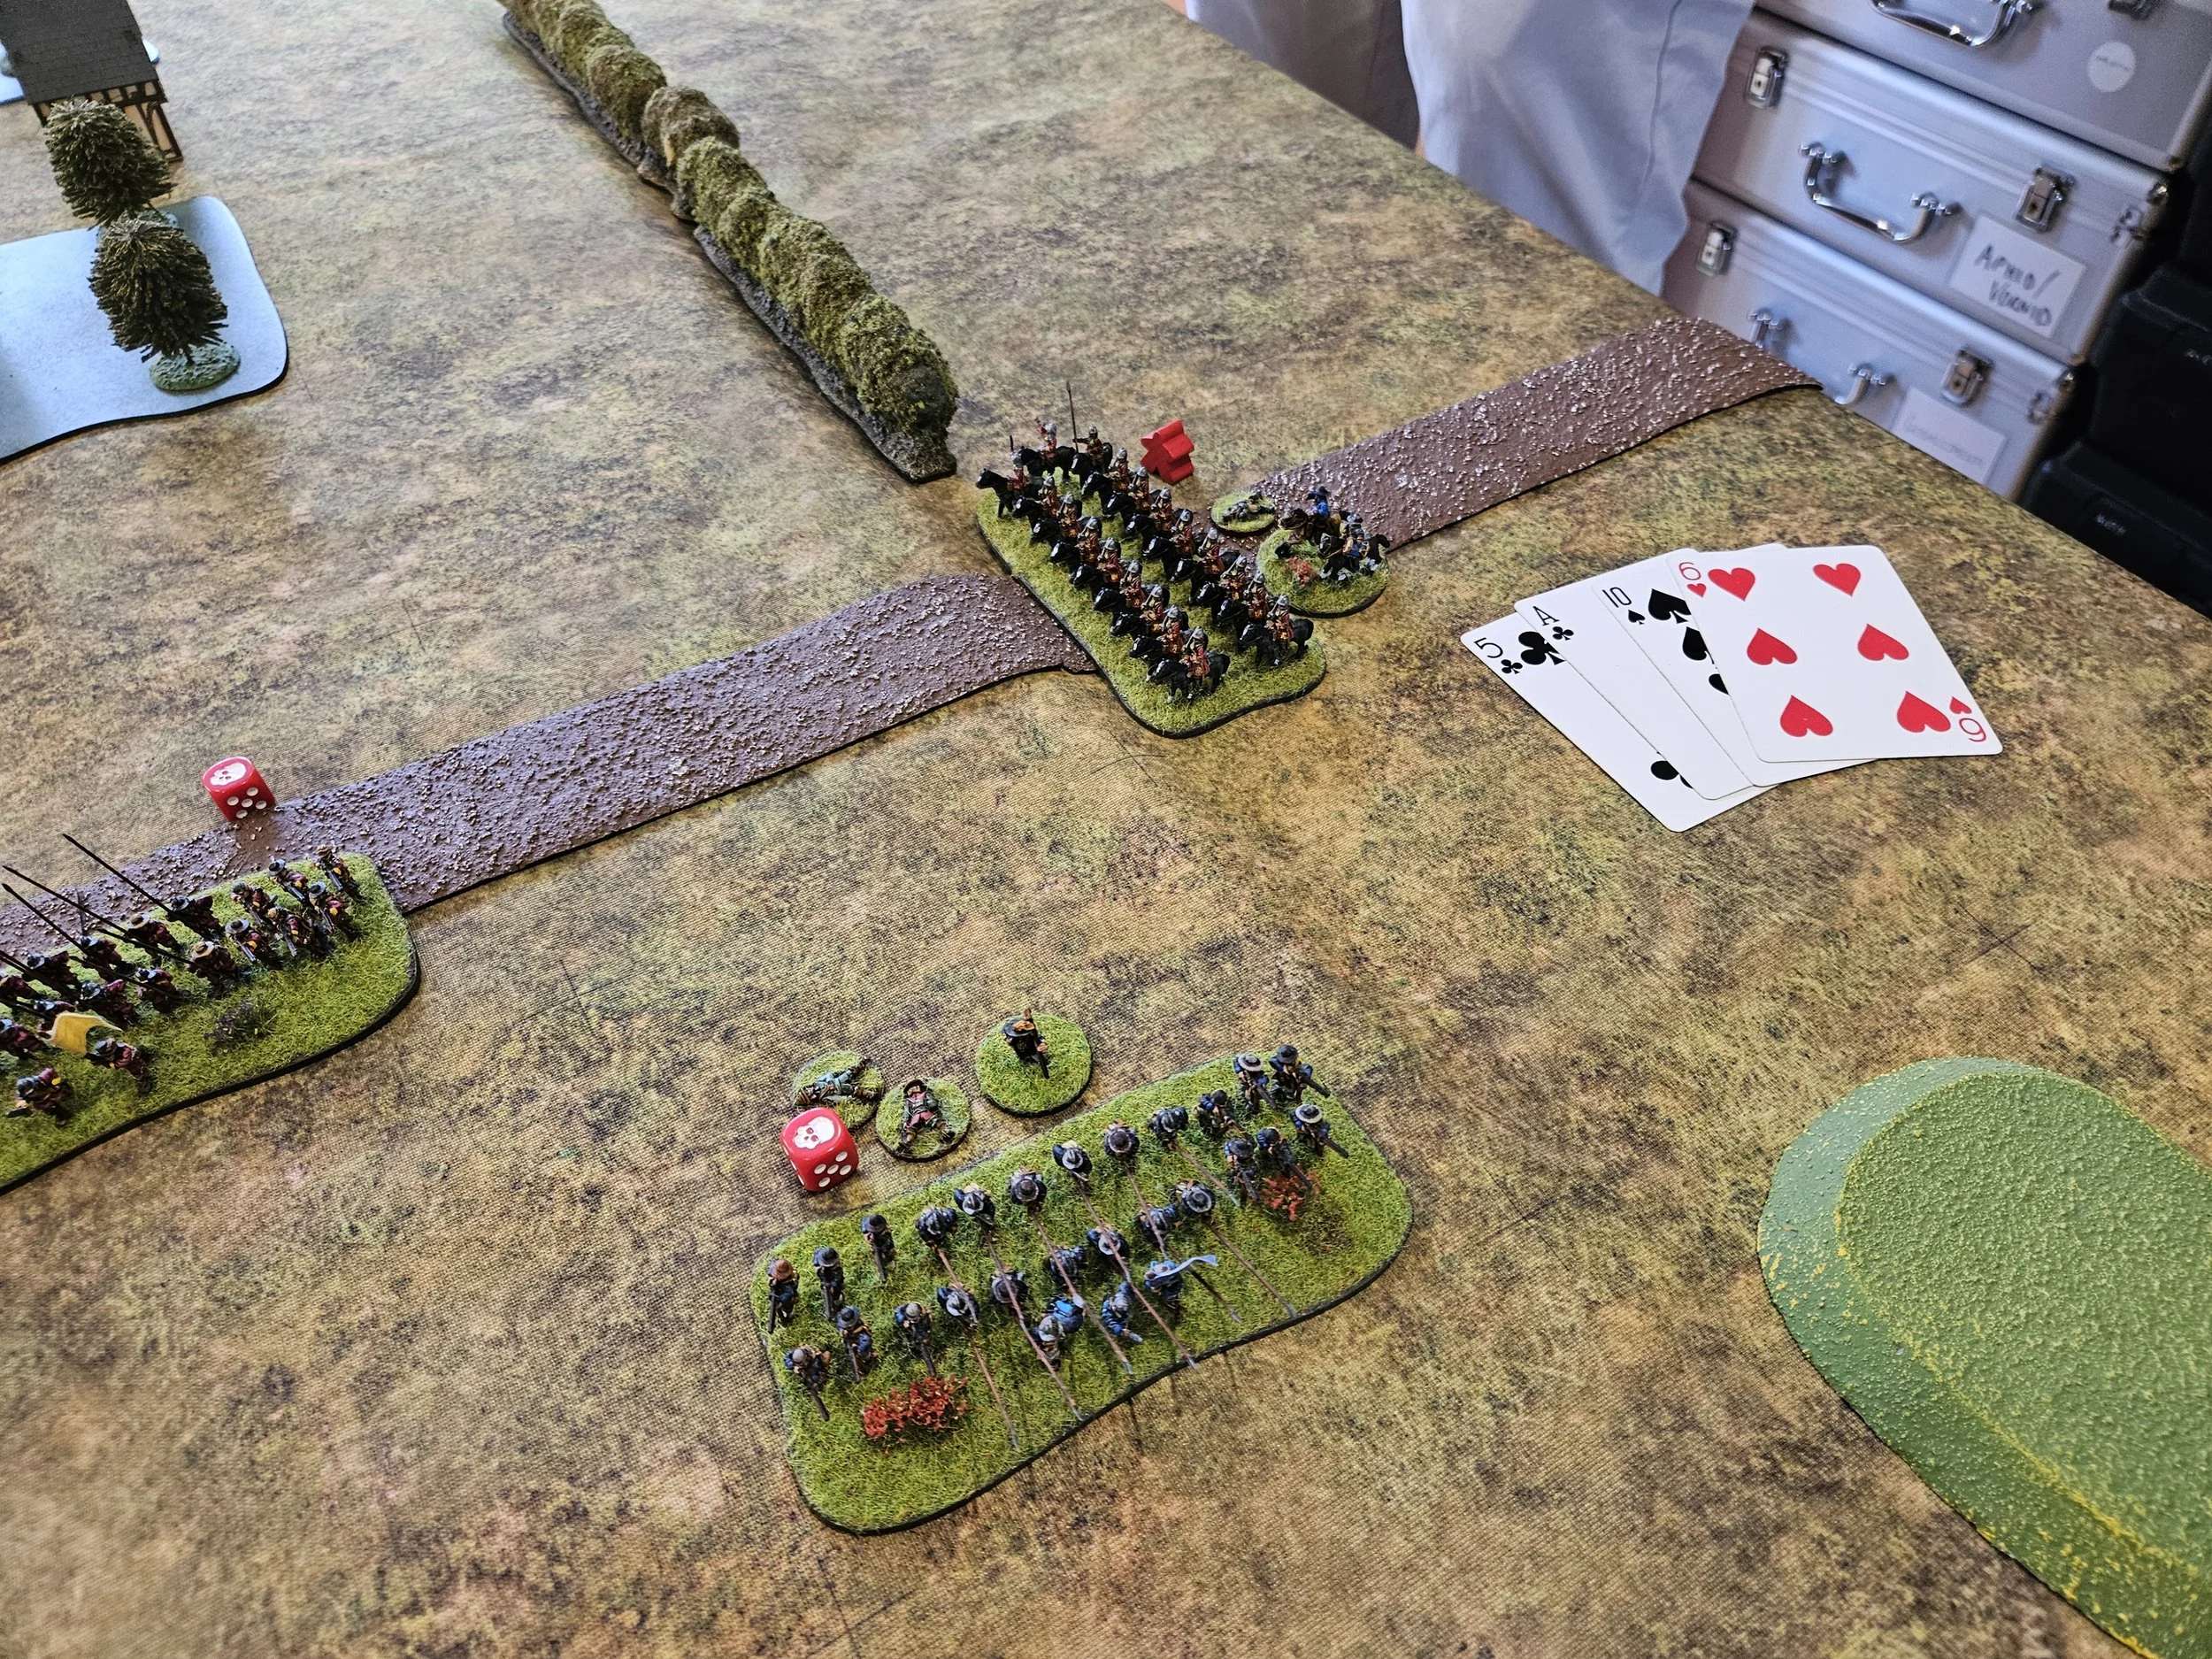
The final shot shows the Royalist cavalry finally getting their act together and charging the Scots.


Up until now, things had been fairly quiet in the centre of the field, with neither side wanting to get their pikemen bogged down fighting amongst the buildings of Skirmett itself.
Realising, however, that things were not going well, the Royalists pushed forward into the village, and shots were exchanged to no great effect.

Meanwhile, on the right, the Royalists were doing a very good job at shoring up their precarious position, forcing my Roundheads to take a lot of time to get properly around that flank.

It was all happening now!
On the left, my Scottish horse finally gave way, leaving that flank to the Royalists. Fortunately the Cavaliers, as is often their wont, lost control and were chasing their defeated foe from the field rather than heading into the centre of the field where they could easily have turned the tide in their favour.
And in the centre a major advance by the Royalists had forced the Parliamentarians to retreat and consolidate their line, rotating their units to feed fresh ones in as required.


I now really did need to win the game on the right rather quickly.
Fortunately Colonel Rhapsody’s Puritan horse had finally manoeuvred themselves into a position where they could strike at the backs of the enemy.
Which they then did: launching a devastating rear charge that smashed an enemy infantry battalia from the field costing Rob his last few coins.

Aftermath
So that was the end of the campaign: twelve scenarios played over about twelve months, twelve great games, and a pretty convincing win for the Royalists overall. So well done Rob!
Being the ultimate nerd, I naturally kept a careful record of the scores for each game, helped by the helpful tracker included in the scenario pack. As you can see, everything was pretty neck and neck until the last few encounters.


It was nice to have a focus for our gaming as opposed to playing ad hoc encounters, and also good to have the opportunity to get really familiar with the two armies. I’d recomend playing a campaign at least once if you can, although it is quite a commitment!