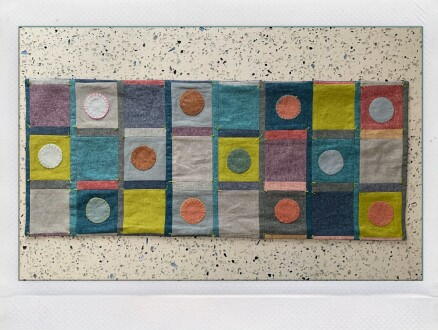
Circle Table Runner
Please note that this pattern is written to go along with the YouTube video. We suggest that you watch the full video . Link here.
Don't forget to press all seams open as you go!
PLUS Enter to win the Oliso Mini Project Iron Giveaway as part of our 12 Days of Christmas in July giveaways as well as our 12 Days Grand Prize!
Materials List
- featuring the M2PRO mini project iron
- Oliso mini iron
- Sewing machine
- Fat Quarter bundle (we used Essex by Robert Kaufman)
- Backing fabric ½ yard
- Applipop rings
- Starch
- Small paint brush
- 12 wt thread (we used Aurifl)
- Glue - Baste-It by Roxanne
- Clover magic pins
DIRECTIONS:
-
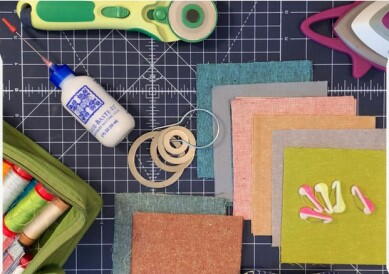
Gather your supplies.
-
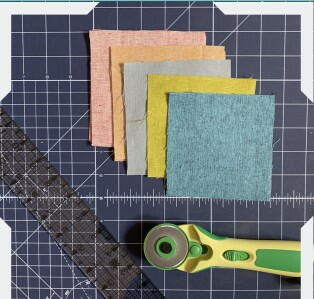
Cut 24 squares 4 ¾” x 4 ¾” of assorted fabrics. You can make the blocks any size to increase or decrease the size of your table runner or by adding extra rows.
-
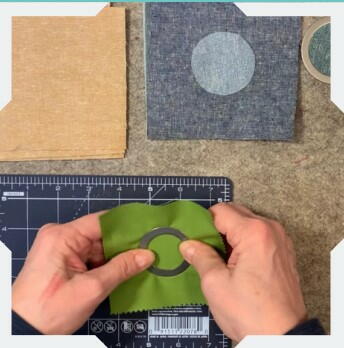
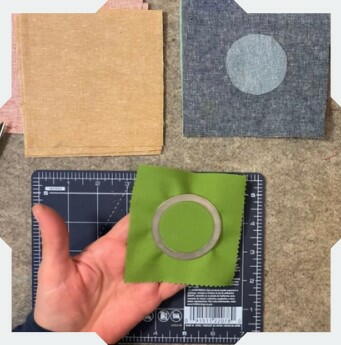
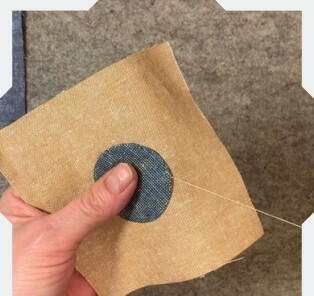
Make 12 of the largest circles with Applipop rings. Or use your favorite method of making a 2” circle to applique onto 12 blocks.
-
Using the baste glue place a small amount around the edge of the wrong side. Place and press in the center of 12 blocks.
-
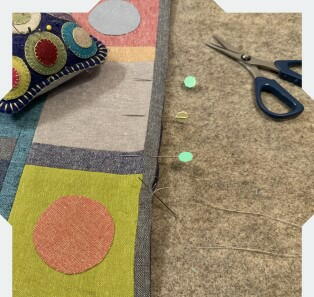
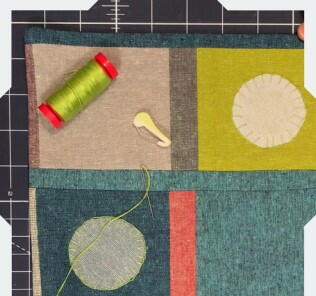
Using appliques stitch secure circles onto the block. Add decorative stitches at this point.
-
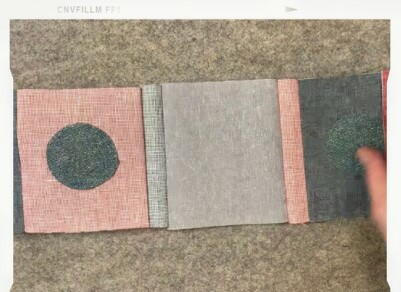
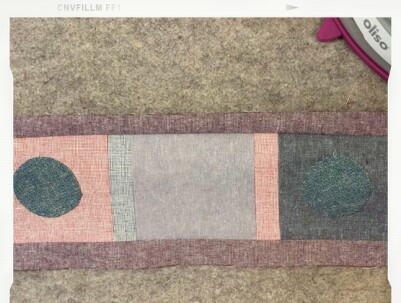
Cut 32 strips of assorted fabric for sashing 1 ½” x 4 ¾”. Sew a strip of fabric on both ends of one block that has a circle. Sew the middle block on next (one with no circle). Then another sashing strip, a block with a circle and finish the row with one more strip of sashing. Make 4 of these sets. Make 4 more sets with the circle in the center block and the top and bottom block blank. Please refer to the video for description
-
Cut 9 strips 1 ¼” wide and 15” in length and sew on each side of block strips
-
Lay backing fabric on the table runner right sides together and sew together leaving about a 6” opening on one end. Clip corners.
-
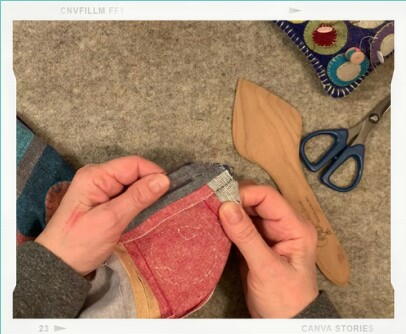
Turn right side out and press. Turn under the opening while pressing. Hand stitch opening closed. Pin baste. Tie both layers together with the 12 wt thread or embroidery floss in random corners of blocks.
-
Finish it!
Read NextBaby Crib Quilt
