As Conscript Dallas hinted at the end of his Dieppe- White Beach post, the Petit Appeville scenario was connected to the results of that game. If the Calgary Tanks had been able to penetrate into Dieppe, there was a chance for them to meet up with the Cameron Highlanders. The details of the game were taken from a book titled 'This Is War - Raid On Dieppe!' by Tim Waybright that was published in 2010. The composition of some of the elements listed in the book, as well as their morale ratings, were tweaked to fit the Bolt Action rules.
Members of the Queen's Own Cameron Highlanders of Canada advanced
inland towards their objective, having pushed through Pourville
after landing 30 minutes late. They were harassed by enemy fire
from the heights to the east of the River Scie, and so moved to
their right to proceed under cover of trees to a position looking
down on the bridge of Petit Appeville. Unaware that the tanks
which were landing on Red and White Beaches were unable to get
through Dieppe, their orders were to take and hold the vital road
junctions until the armour could advance. Unfortunately for them,
the German commander had already dispatched troops to do the same
thing.
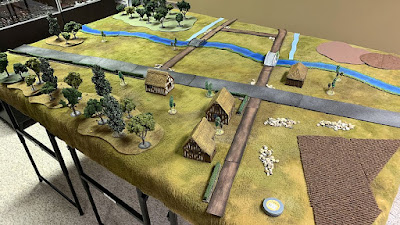 |
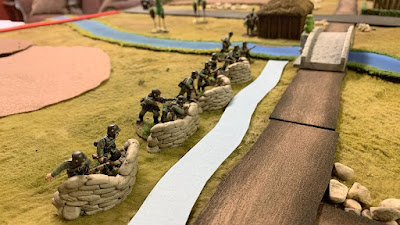
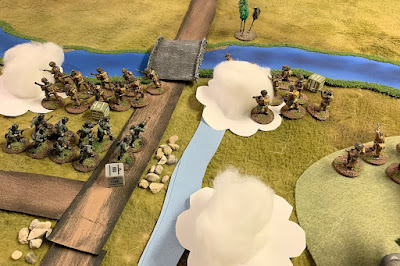
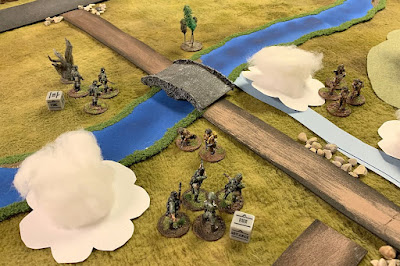
Petit Appeville bridges, looking East
|
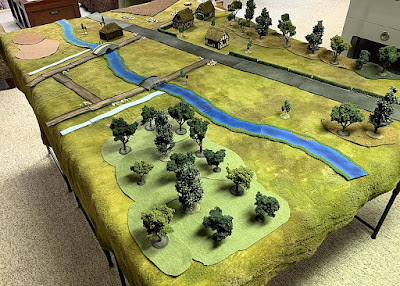 |
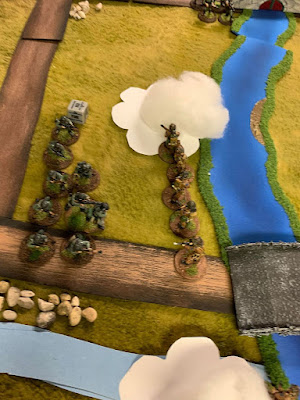
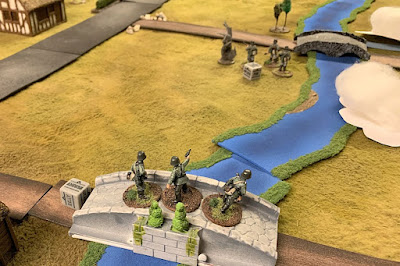
Petit Appeville bridges, looking South
|
According to the scenario outline, the Germans could deploy anywhere up to 26" from the southern board edge. They would also have 5 hastily dug slit trenches that could accommodate two men each and provide light cover. All the woods were considered light woods that did not impede movement on foot, but troops in the woods could not be given a RUN order. The hedges were low and provided no cover. The buildings and woods both provided light cover, while the wheat field and stone piles blocked line of sight to any prone figures. The River Scie, running down the center of the board had steep banks that gave heavy cover to models adjacent to the river's edge, while the ditches were an obstacle to wheeled vehicles only. The Canadian entry points were anywhere along the northern and western edge of the table outside the German deployment zone. The game would run a minimum of six turns, with a 50% chance of a seventh.
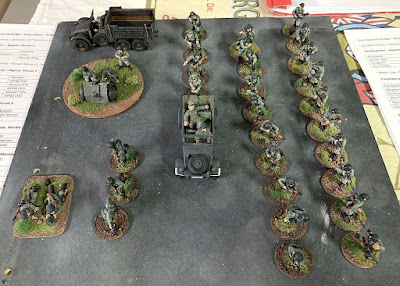
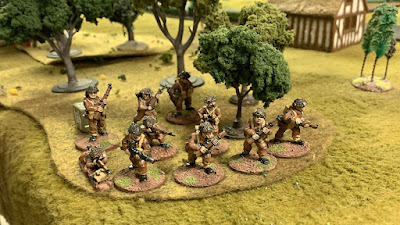
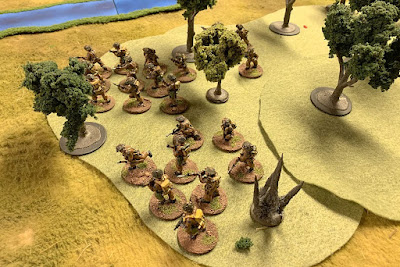
The Canadians are elements of 'B' and 'C' Companies of the
Queen's Own Cameron Highlanders of Canada under the command of
Major A.T. Law. They consisted of a headquarters section of Major Law (+4 morale bonus, 4 extra order dice, 12" command radius) plus three soldiers, three infantry sections of ten men (1 SMG, 1 Bren gun and loader, 7 rifles), a 2" mortar light team, and a 3" medium mortar team. All the Canadians were rated as Regulars, and given the 'Up an' at 'em' national characteristic option, which meant any assault orders were considered to be automatically passed.
 |
Cameron Highlanders under Major Andy Law
|
The Germans are elements of the 1st Battalion, 571st Infantry
Regiment, 302nd Division under the command of Oberleutnant K.
Fischer. They consisted of a headquarters of Oberleutnant Fischer (+2 morale bonus, 3 extra command dice, 6" command radius) plus two soldiers, two infantry sections of ten men (2 SMGs, 1 LMG and loader, 6 rifles), a 50mm light mortar, and a 75mm light howitzer towed by a truck. They also had a Kübelwagen with a Leutnant (+1 morale bonus, 2 extra command dice, 6" command radius) and three riflemen that could enter along one of the roads from the East starting on Turn 3 on a D6 score of the Turn Number or less. The Germans also had the army characteristics of 'Blitzkrieg' (officers draw an extra order dice) 'Hitler's Buzzsaw' (MGs get an extra fire dice), and 'Initiative Training' (on the loss of a section leader, roll a D6, on a score of 2-6, the second in command takes over with no morale loss).
 |
German forces under Leutnant Karl Fischer
|
Unlike many of our earlier Bolt Action games that featured anti-tank gun and medium machine gun teams as the support weapons, this time we had a lot of indirect fire from the mortars and the light howitzer with the use of smoke rounds to mask troops from enemy fire.
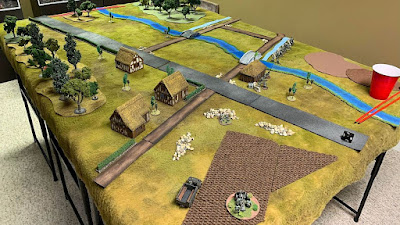 |
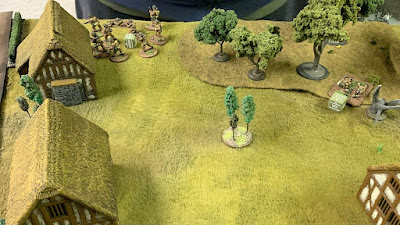
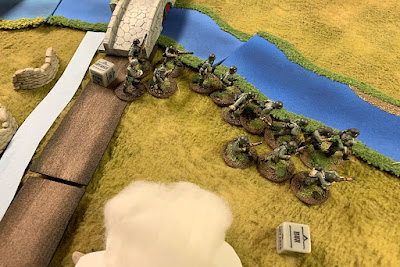
Initial German deployment
|
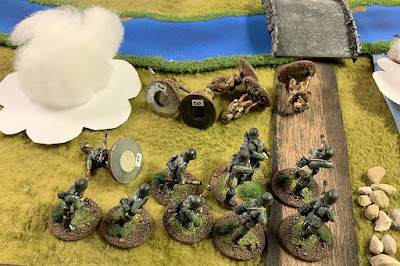
The Germans set up with one section in slit trenches along the southern ditch, one section in the wooden building just west of the River Scie, the mortar team behind a stone pile near the southern crossroad, and the light howitizer in the wheat field. On Turn 1, the Canadians began entering from the northern and western board edges, using the woods for cover.
 |
German slit trenches
|
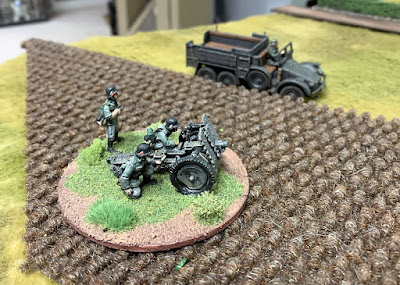 |
German light howitzer and tow
|
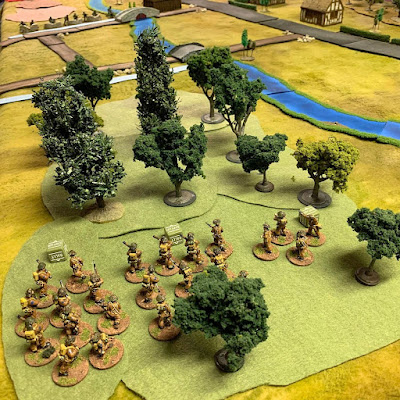 |
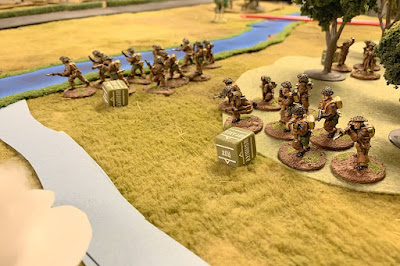
Major Law with two infantry sections
|
 |
The Canadians advance in force
|
 |
| 3" mortar team moves into position |
|
|
|
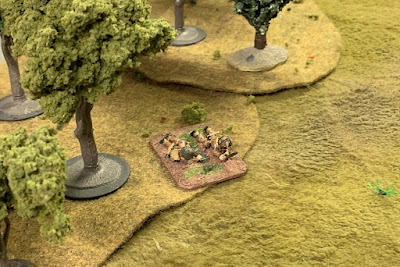
 |
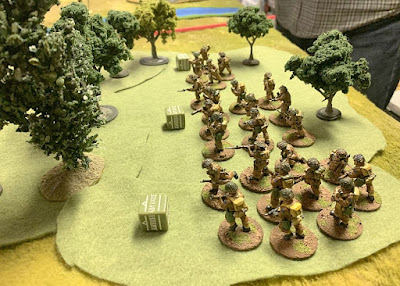
A Canadian section moves up in the western wood
|
 |
2" mortar ready to provide HE or smoke
|
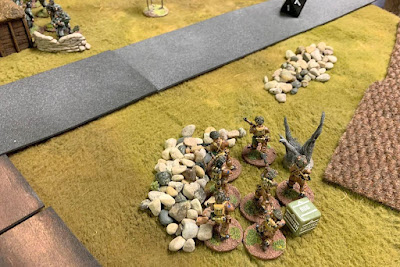
At first, there was little the Germans could do as the Canadians were either out of range or obscured by intervening terrain. Meanwhile the Canadians used Major Law's command ability to activate a significant number of their elements with the 'You men, snap to action!' rule. As the Canadians worked their way forward from the north, the third section moved in from the west to engage the German mortar with small arms fire and followed up with an assault. The German mortar team reacted quickly enough to shoot two of the Canadians before being overwhelmed.
 |
Canadians moving to the west of the village
|
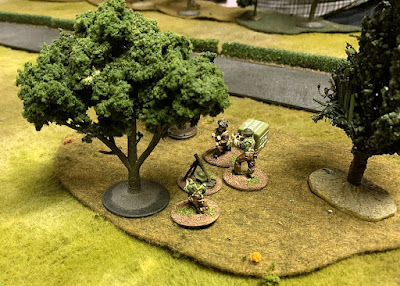
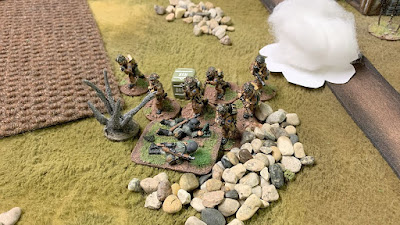 |
German mortar team assaulted by Canadians
|
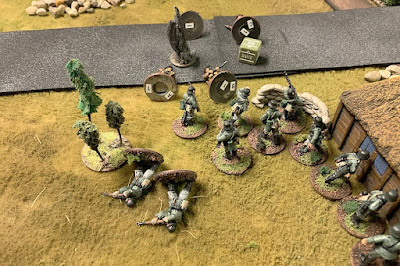
The Germans reacted by pulling one of their sections out of the building they occupied and bringing concentrated fire onto the Canadian attackers. Undeterred by casualties, the Canadians pressed their attack and came to close quarters with the German infantry. More men fell to German defensive fire before those remaining were put out of action in the ensuing melee.
 |
Canadian section regrouping
|
 |
Germans respond to the flank attack
|
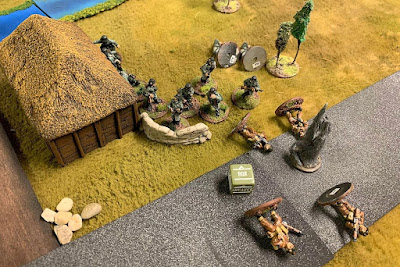 |
A gallant but futile assault by the Canadians
|
 |
The German section wins the fight
|
Meanwhile the Canadians advancing from the north came within range of the German section manning the slit trenches. The mortars were able to provide some cover by dropping smoke rounds to obscure the German fire as one Canadian section moved out of the woods to advance along the river bank. With the threat from the West eliminated, the Germans abandoned their trenches to drive the Canadians away from the northern bridge. The Canadians responded by pushing further south to get into a blocking position. It was very 'touch and go' at this point with success going to which ever side drew the first order die.
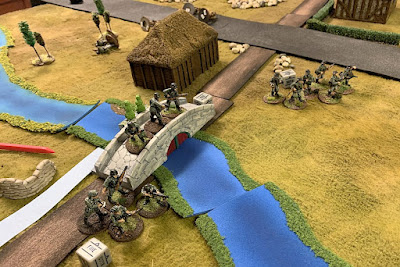
Luck went to the Germans who were able to assault the lead Canadian section from close range. The Canadians went down to defeat, either killed or captured. The supporting Canadian section counterattacked with supporting fire from Major Law's HQ section, but they were in turn counterattacked by the German platoon command that has arrived in the Kübelwagen. The Germans then ordered a general advance with all their personnel. The infantry section that had previously been successful in fending off the Canadian bayonet charge now fell prey to some accurate 3" mortar fire, an accurate HE impact taking out the section commander, the LMG, and a rifleman. Despite the losses, the survivors successfully passed their morale check. The action went down to the wire in the seventh turn, but in the end the bridge was still contested, which was a victory for the Germans. The tanks never arrived.
 |
Canadians close on the northern bridge
|
 |
Germans move to counterattack
|
 |
Canadian section advances along riverbank
|
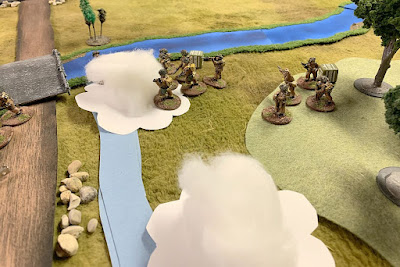 |
Canadians advancing through a smoke screen
|
 |
Germans outflank the lead Canadian section
|
 |
Canadians pinned against the riverbank
|
 |
| Canadians are defeated in the melee |
|
|
|
 |
Oberleutnant Fischer orders a general advance
|
 |
Germans west of the river are hit by 3" mortar HE fire
|
 |
Germans regroup to await a counterattack
|
 |
Canadian counterattack is hit by fresh troops
|
 |
German commander surveys the battlefield
|
This was an interesting game, one which I have wanted to run ever since I read the scenario in the campaign book. As mentioned earlier, the support weapons were primarily indirect fire. It's very hard to get a first round on target. In fact, only one round of HE fire hit its mark, but with devastating effect, killing 3 of 4 that were caught in the blast. The smoke was also an aspect of the game that we have never played before. Even misses still land on the table, placed by the opposing side with 12" of the aiming point. Plus smoke has the possibility to dissipate, drift, or persist, depending of a dice roll at the beginning of any turn where there is smoke on the board.
The victory conditions were difficult for the Canadians to achieve. All the Germans had to do was get an element within 6" of a bridge to contest control to prevent the Canadians from winning. Still, it was a near run thing. Had the first die out of the cup at the beginning of Turn 6 been a Canadian one, it might have gone the other way.
On a historical note, during the fighting at Petit Appeville, the Camerons received a radio order from brigade headquarters to withdraw back to Green Beach to re-embark. Major Law was one of those who made it back to England. In January 1943 he was promoted to the rank of Lieutenant Colonel and commanded the Camerons until February of the following year. He was awarded the Distinguished Service Order, and was also 'mentioned in dispatches'. The regiment eventually returned to France in July 1944.
Thanks for reading. Be sure to comment.


